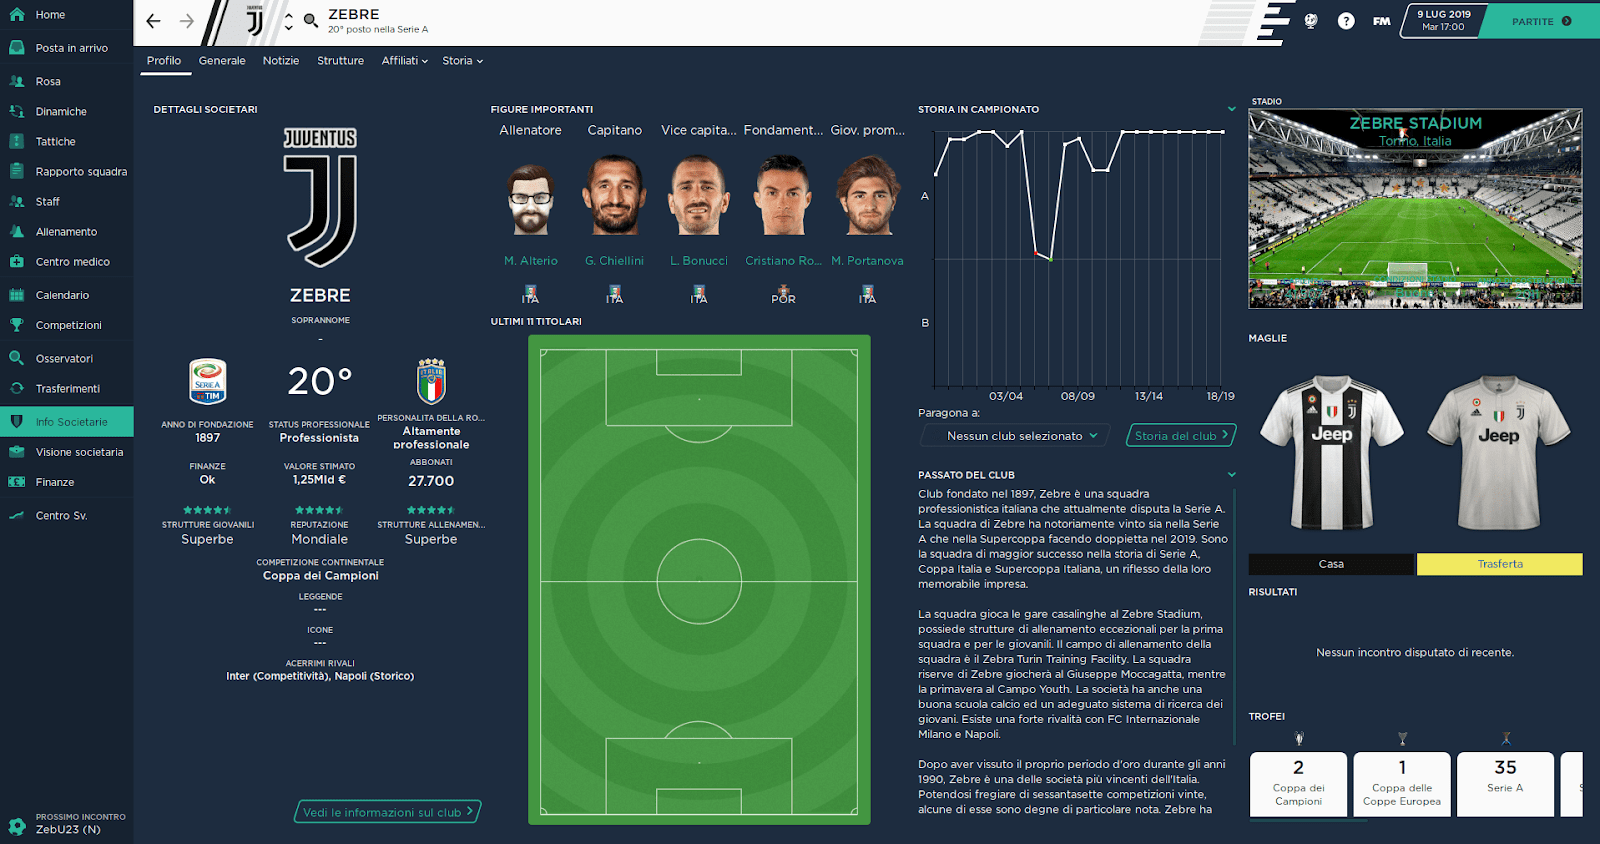
The Material Skin 2.0 is custom made skin for the regular version of Football Manager 2020. This FM 2020 skin is created by Budwaiser4.
Updates from the previous version
V 2.0.1
Star Rating - Fixed
Club Overview - Fixed
Player instruction in tactics - Fixed
V 2.0.2
Radio button (holiday, choice team in the start game and various) - Fixed
V 2.0.3
World -> transfers always show "There are no fees associated with this transfer type". - Fixed
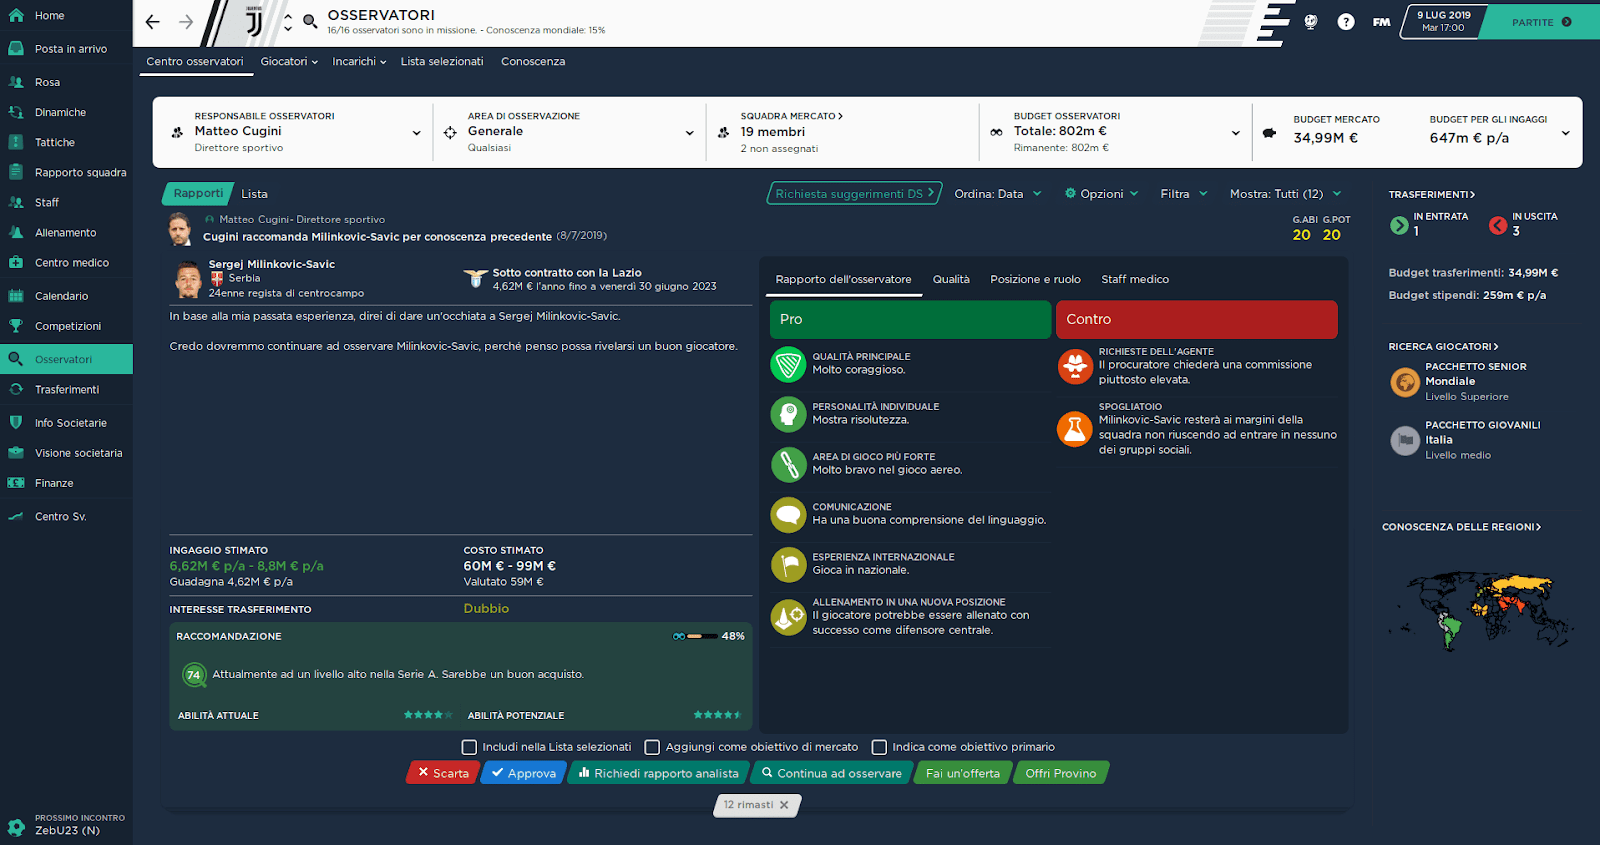
Scout Priorities - Fixed
Add panel in profile which shows PRO CONS - Added
V 2.0.4
Last 11 Starting in club overview panel. - Fixed
Match report - Fixed
Club objective - Fixed
V 2.0.5
Instant Result - Fixed
V 2.0.6
News image section - Fixed
Colour analyser player - Fixed
Notes player - Fixed
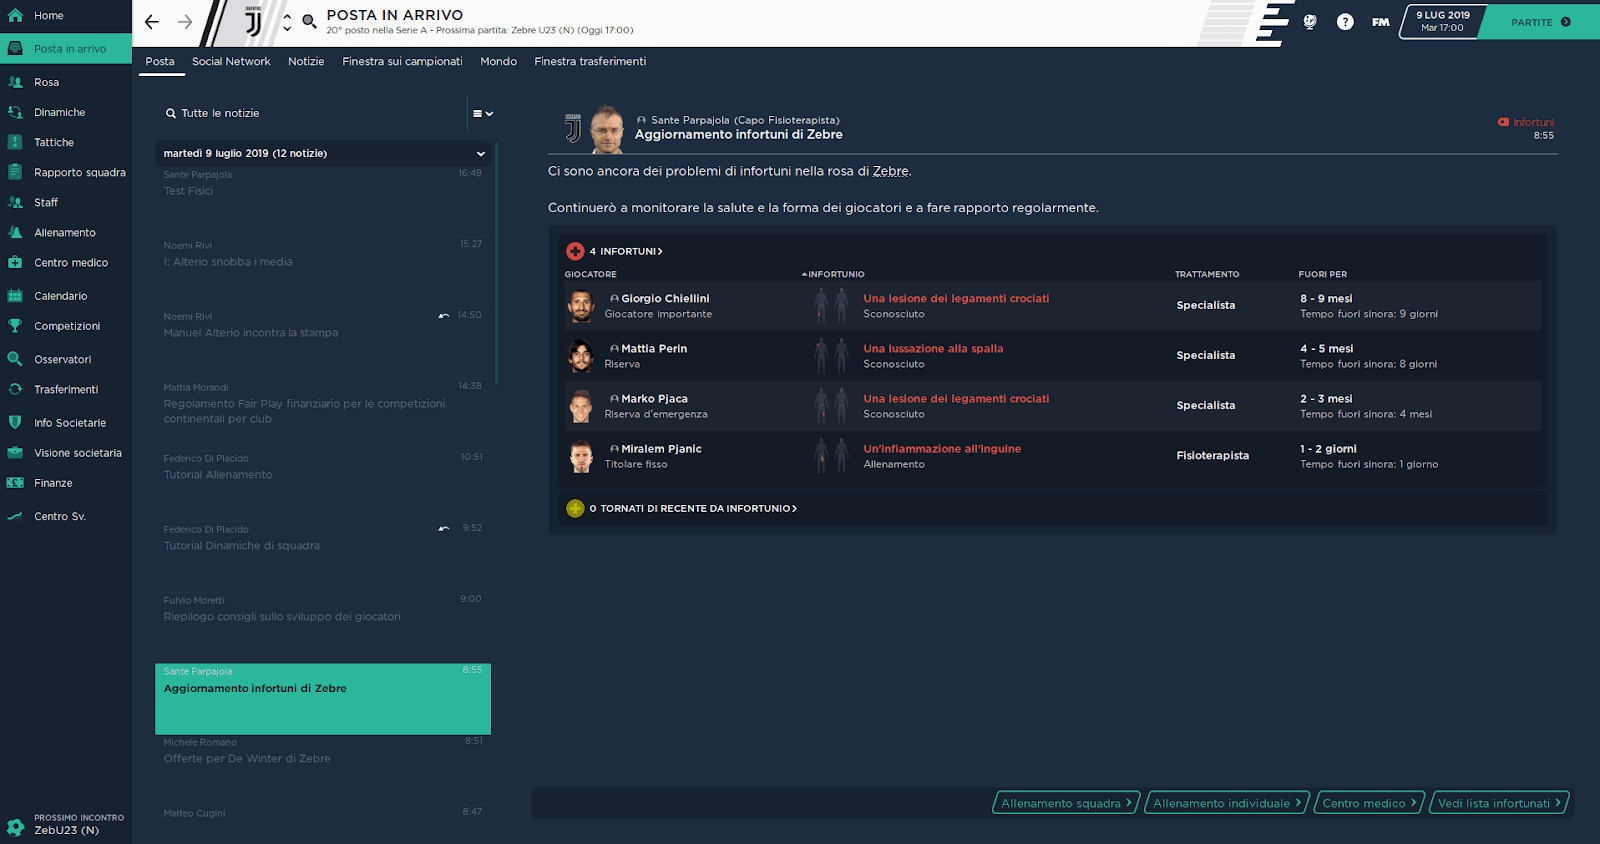
Features of the FM2020 Material 2.0 skin
• Redesigned Club Overview Panel
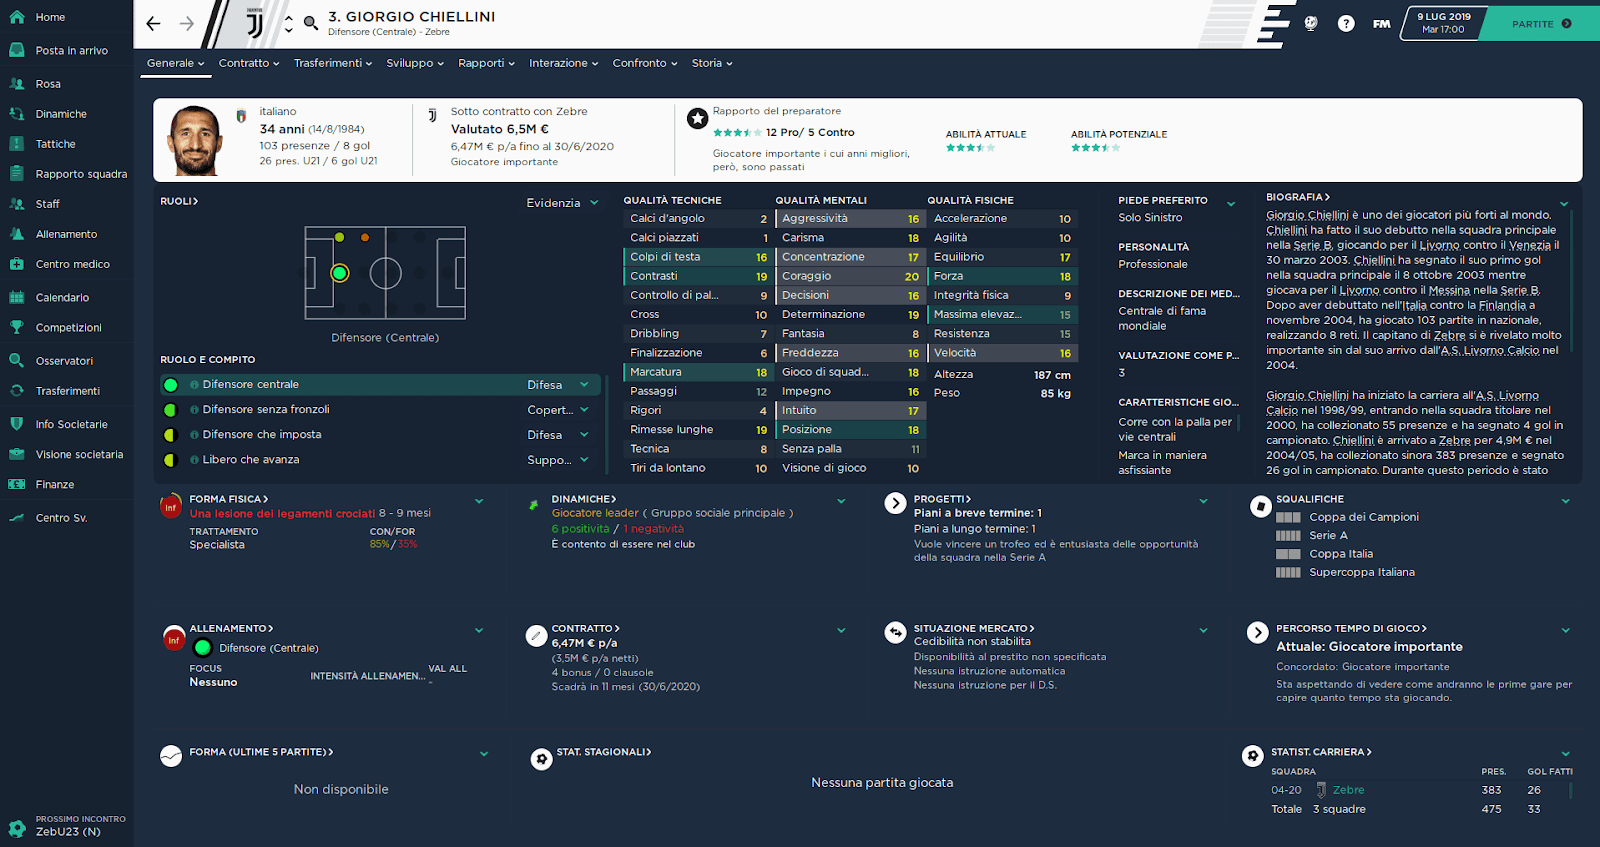
• Redesigned Player Overview Panel
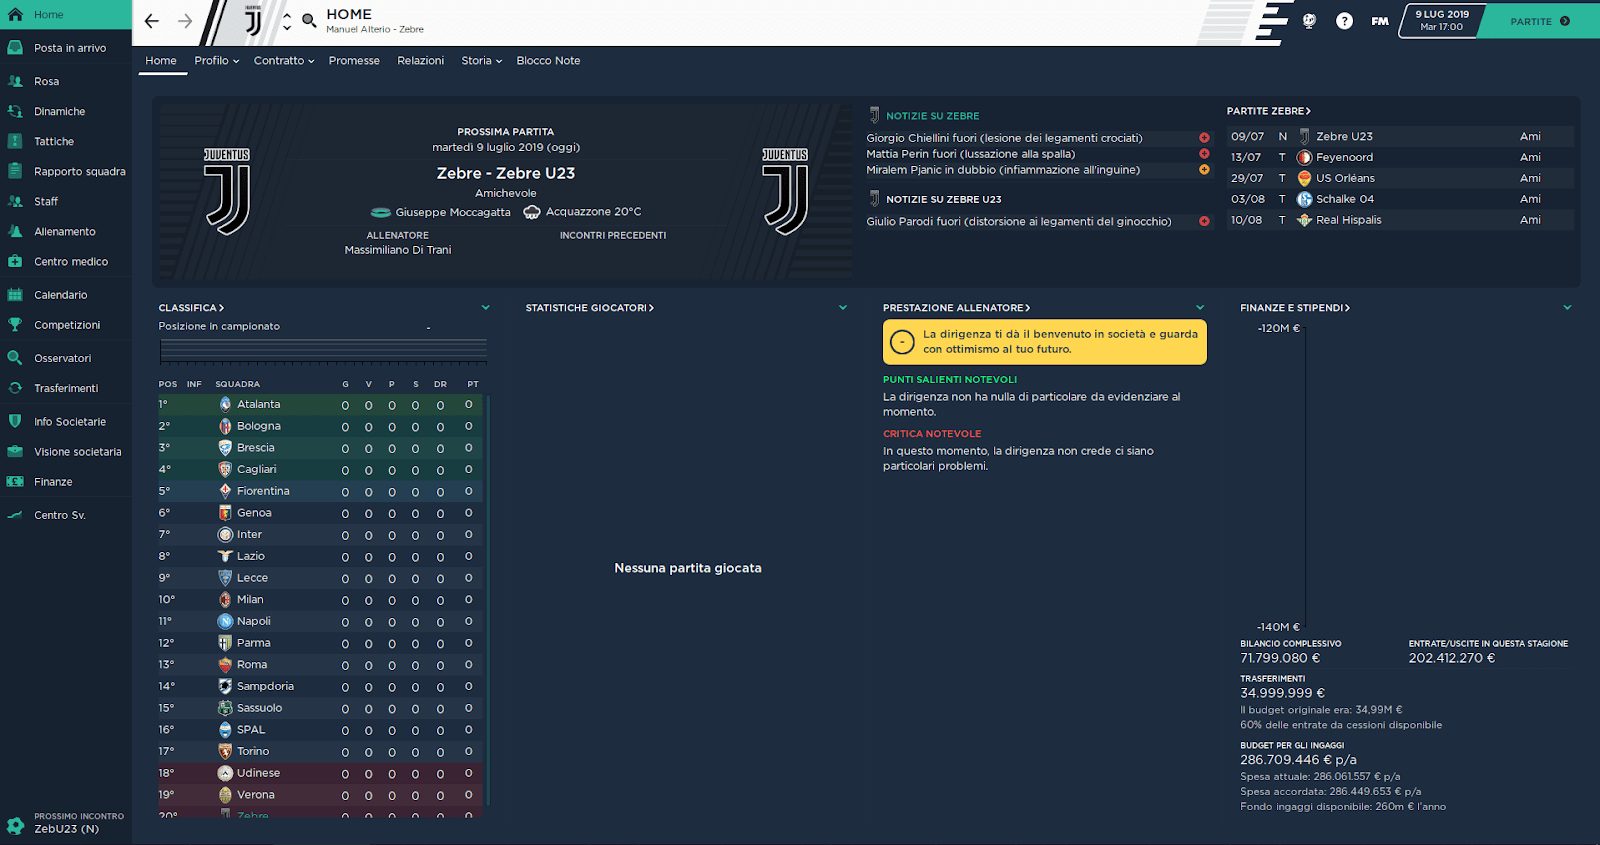
• Simple, dark and modern design
• Instant Result Button
The author also says that if you write to him privately he will work around any bugs or apply minor improvements to the skin.
Here are a few sample in-game screenshots using the skin
Here is where you can download the skin from
Installing custom skins
Skins will only work on the version of the game they are designed for (so FM20 skins will only work with FM20 and not older versions of the game, nor newer ones) and Touch and Full Mode skins aren't compatible so if you are using the Touch version you will only be able to use Touch skins.
After you have downloaded a file it will generally come in one of three formats: zip, rar or 7z file.
Zip files should be automatically supported by your OS and may show up as compressed folders, Rar and 7z files may require you to download some software to extract the files. The below software is recommended:
Windows users - WinRar (Choose the most recent .exe file)
WinRar is installed using the .exe you download, following the instructions on-screen.
MacOS users - The Unarchiver
To install The Unarchiver simply double click on the .zip file you download from their website then drag the program it extracts (called 'The Unarchiver') into your apps folder.
Once you’ve installed the extracting software on your operating system, create a new folder and place your downloaded skin rar in it.
Extract the skin files as follows:
Windows - Right-click on your rar. Choose WinRar from the menu, then select 'Extract Here'.
MacOS X - Right-click (or ctrl + click) on your zip, rar or 7z. Choose 'open with' then select 'The Unarchiver'.
Your file should extract and create a folder in the same directory. If you extracted an fmf file (or just downloaded it directly) this isn't a problem. These files have been packed using the FM Resource Tool and as an end-user, there is no need for you to mess around extracting them. Think of these as the same as the folder you'd get from extracting the files.
Locating Your User Data Location
Once you have downloaded and extracted your files, move them over to your ‘user data location’ so they can be read by the game.
First, make sure you have run the game at least once (just getting to the start menu and exiting is fine) so the game can create the required folders for you. The default location of your ‘user data location’ will be slightly different depending on the OS you are using;
Windows users - C:\Users\\Documents\Sports Interactive\Football Manager 2020\skins *
Mac OS X users - /Users//Documents/Sports Interactive/Football Manager 2020/skins *
Now open up your skins folder and place the folder you extracted inside it.
*if this folder doesn't exist then just create a new folder and call it ‘skins’.
If it is an fmf file you have downloaded then just place this file directly inside the skins folder. If you have a folder after extracting the files then you need to make sure you are copying over the correct folder because if the skin files are nested inside another folder they will not work.
Next, you need to open the folders you extracted until you find a folder that is laid out with the skin_config file present. You then want to grab the parent folder to this and copy this into your skins folder.
Displaying Skins In-Game
To select the skin in-game, load FM and go into the ‘preferences menu’ > ‘advanced’ > ‘interface. In this panel, you’ll find an option called ‘skin’ with a drop-down menu next to it. Select the drop-down menu to view your installed skins, then select and confirm.
If the skin you want isn't showing then go to the ‘preferences’ > ‘advanced’ > ‘interface menu’. In the bottom left you'll see another drop-down menu to select your skin from. Below this menu, untick 'use caching to decrease page loading times' and tick 'Reload skin when confirming changes in preferences' then select confirm. When you re-enter the preferences menu it should have refreshed the list of skins to show your skin in the above list.
Once the skin is loaded you can turn the skin cache back on and un-tick the ‘always reload’ button.


